Introduction
Adding an events calendar to your website is a simple way to keep your audience informed. Whether you’re planning workshops, webinars, or meetups, a good calendar makes it simple for people to find and sign up for your events.
In this guide, we’ll walk you through how to use “The Events Calendar” plugin to build a professional, user-friendly events calendar on your WordPress site.
Why Add an Events Calendar in WordPress?
Adding an events calendar is an easy and effective way to connect with your audience. Here are a few key benefits:
Keeps Your Audience Engaged: A calendar helps visitors see what’s coming up, whether it’s a webinar, a workshop, or a local meetup. This keeps your community engaged and informed about your activities.
Boosts User Engagement: A well-organized events calendar encourages visitors to spend more time on your site. Features like event details, maps, and registration links all work together to provide a better experience.
Makes Management Easy: Instead of using different tools, you can manage everything—from event creation to promotion—all in your WordPress dashboard. This saves your time and keeps your workflow organized.
How to Add an Events Calendar in WordPress
Step 1: Install and Activate “The Events Calendar” Plugin
- Go to the WordPress Dashboard.
- Go to Plugins > Add New > The Events Calendar Plugin
- Install and Activate
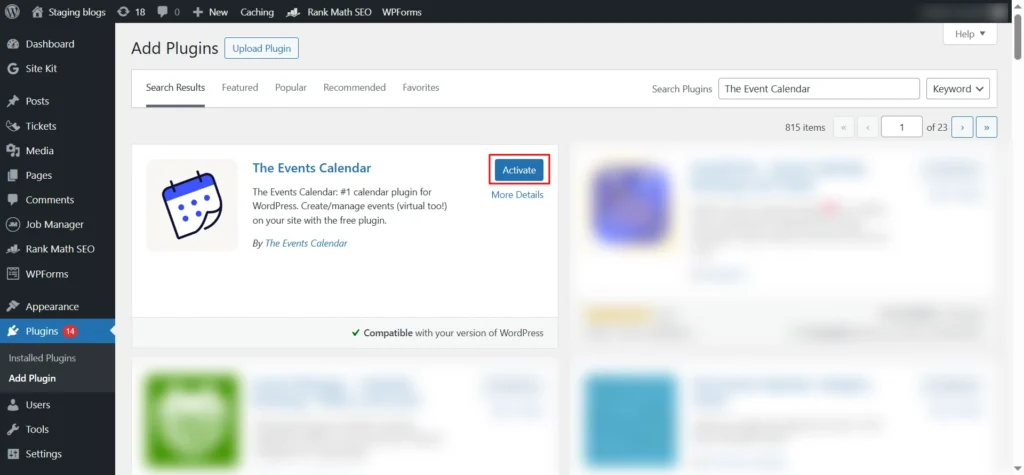
Screenshot: The Events Calendar
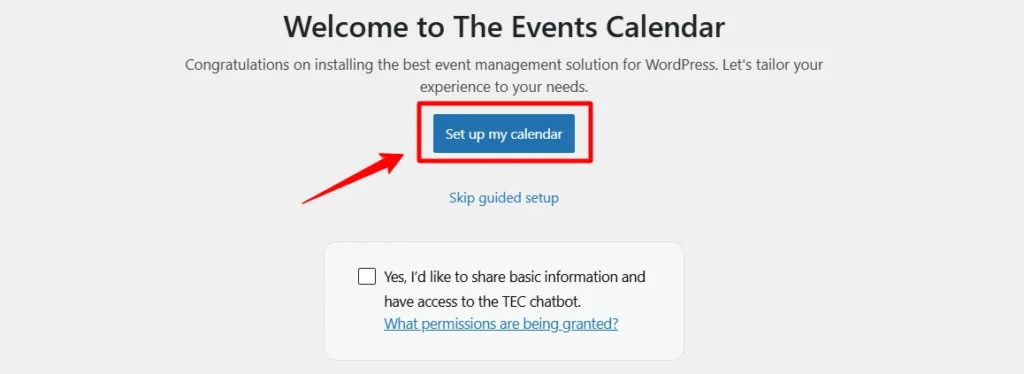
Step 2: Set Up Your Calendar
After activating the plugin, you’ll be guided through a simple setup process. Click the “Set up my calendar” button to begin configuring the essential settings for your events.
The plugin will walk you through a series of steps to get your calendar ready:
- Display: Choose how you want your calendar to be viewed. You can select multiple options, such as List, Month, and Day views.
Screenshot: Set Up Calendar
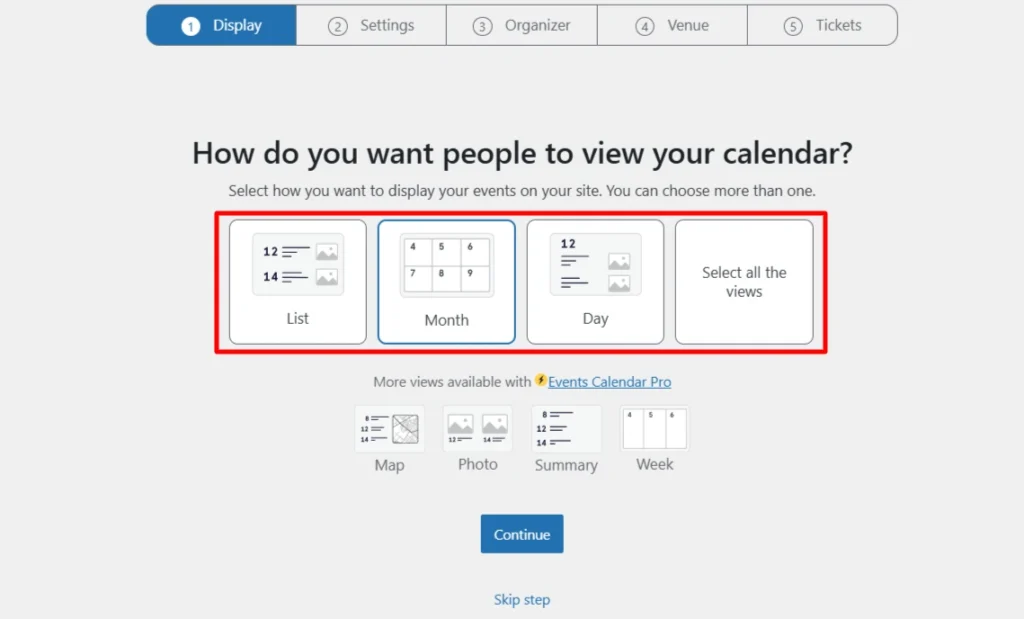
Screenshot: Calendar View
2. Settings: This is where you configure your event’s basic details, such as the currency symbol, time zone, and date format.
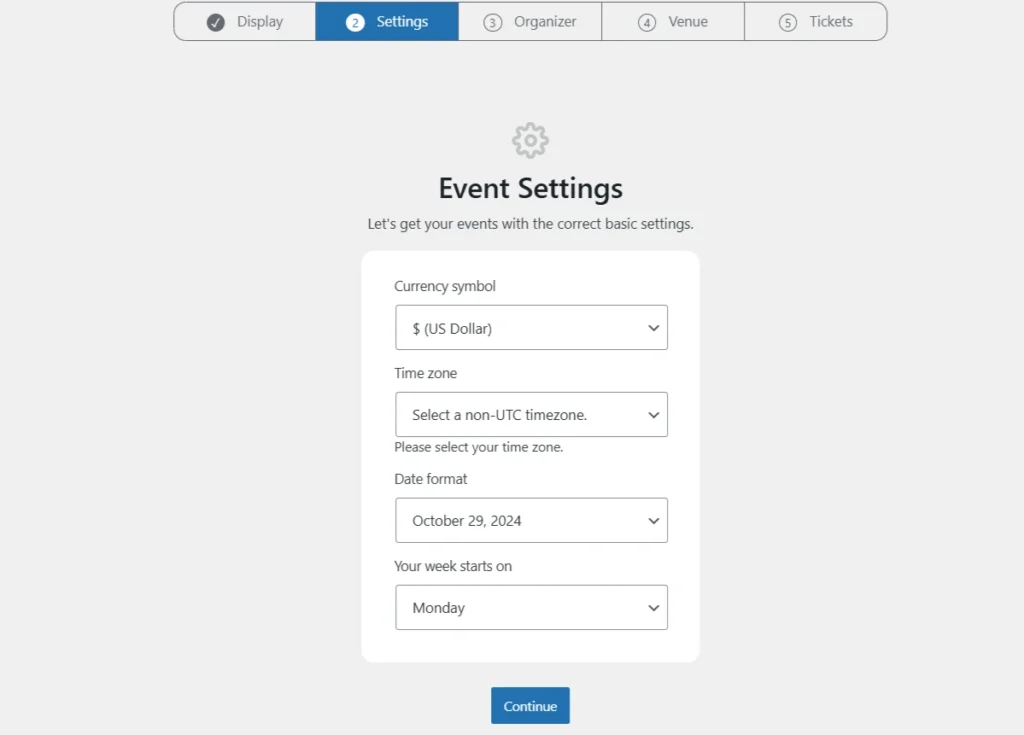
Screenshot: Event Settings
3. Organizer: Add your first event organizer by providing a name. You can add more details, like a phone number or email address, if you wish.
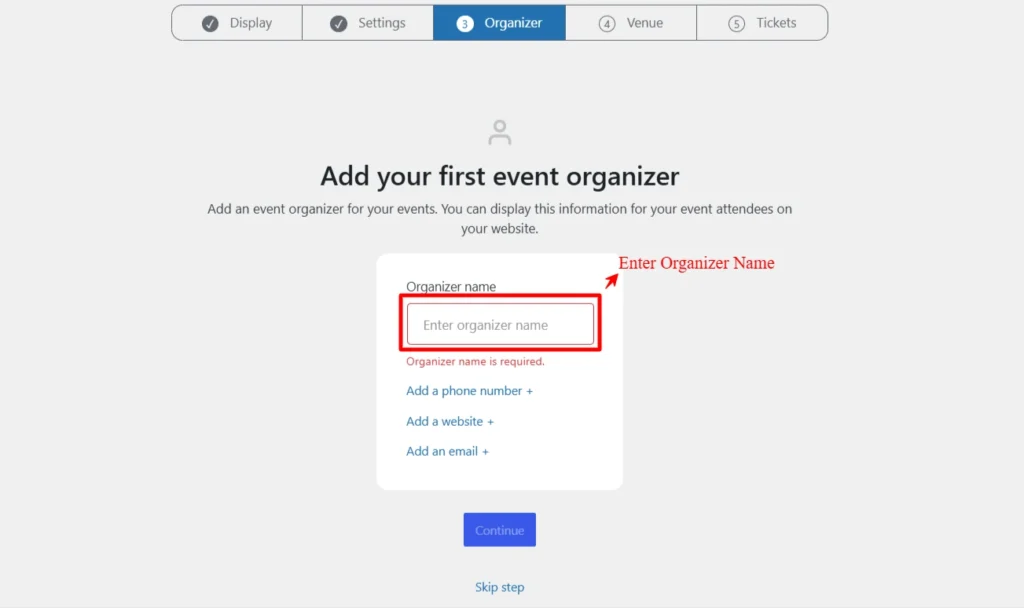
Screenshot: Add Organizer Name
4. Venue: Add the location for your events by entering the venue name, address, and other contact information.
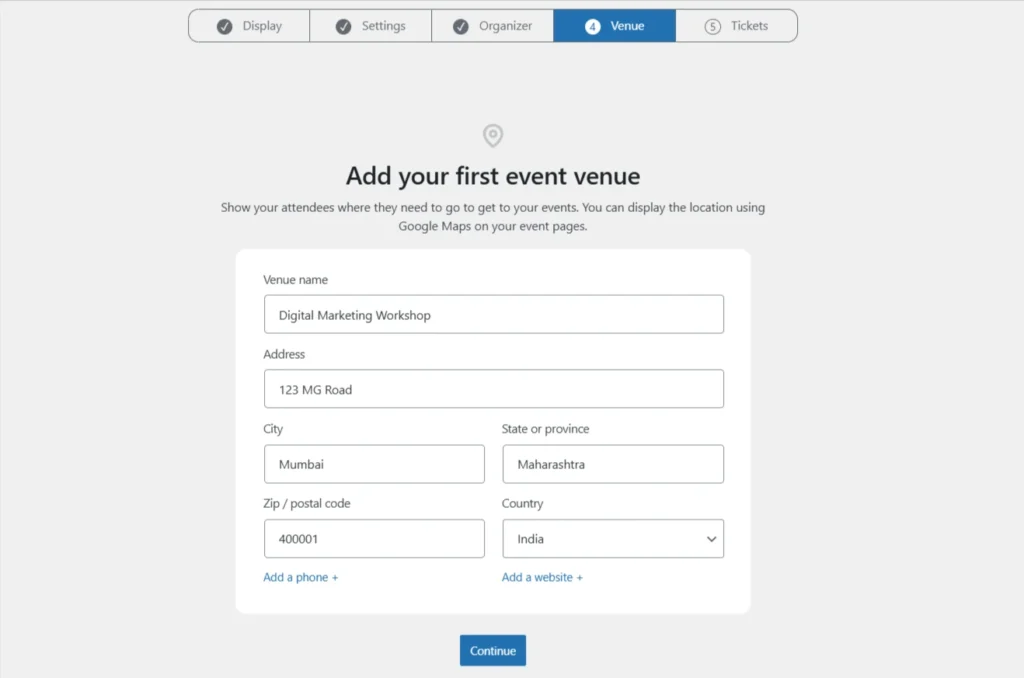
Screenshot: Add Venue
5. Tickets: If you plan to sell tickets or manage RSVPs, you can choose to install the free Event Tickets add-on at this stage.
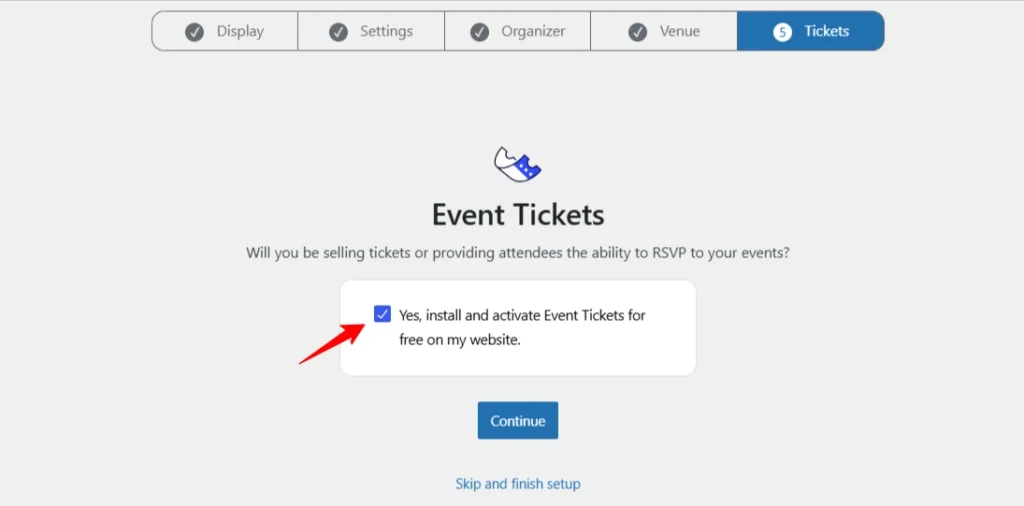
Screenshot: Install Event Tickets
Once you have completed all the steps, click “Continue” or “Skip and finish setup” to finalize the initial configuration.
Step 3: Add New Event

Screenshot: Add New Event
Enter your Event Title (e.g., ” WordPress Workshop – Learn to Build Websites”) and Event Description to highlight the agenda, speaker, and other details.
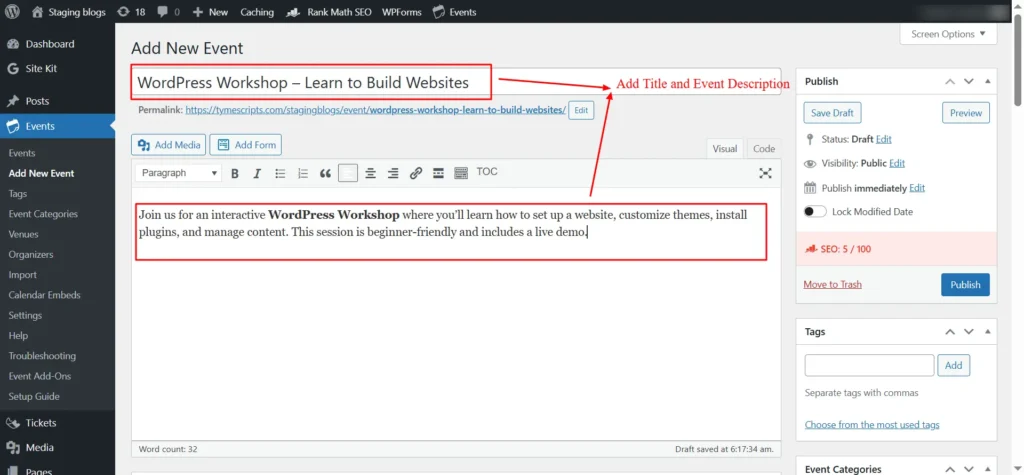
Screenshot: Event Title and Description
Fill in the Event Details
After you’ve entered your event’s title and description, you’ll need to fill in the rest of the essential details, including the time, date, and location.
Time and Date
Use the Start/End fields to set the precise date and time of your event. If your event lasts all day, simply check the All Day Event box.
Location
In the Venue field, you can either select an existing venue from the dropdown menu or type a new one to create it. You can also choose to display the location on a map and provide a map link for attendees by checking the Show map and Show map link boxes.
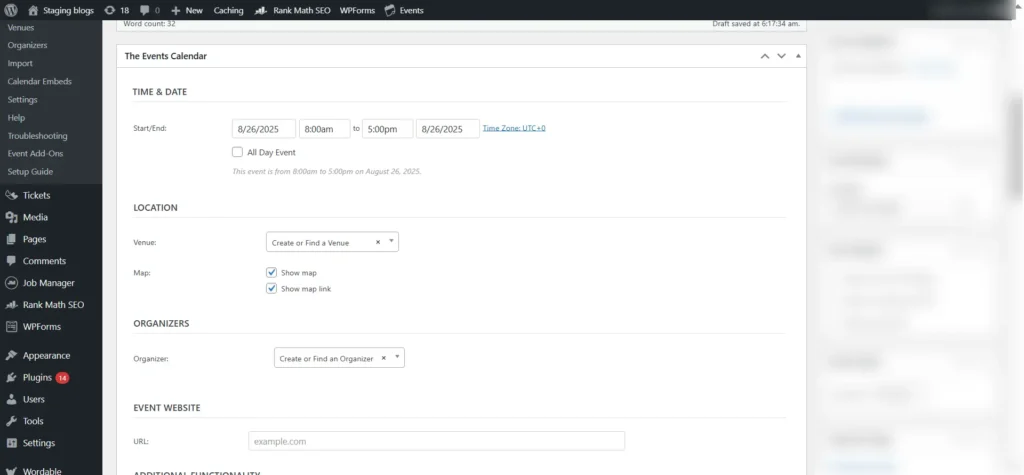
Screenshot: Time, Date, and Venue Location
Scroll down to the Organizers section. Here, you can add a person or organization responsible for the event. Simply fill in the following details like Organizer Name, Phone, Website, and Email.
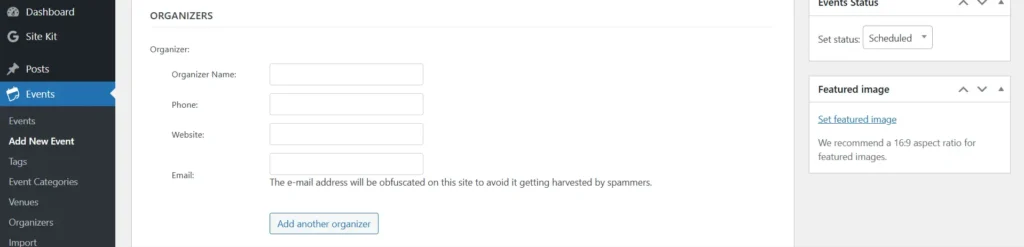
Screenshot: Organizer Details
On the right-hand sidebar, you’ll see a section for Event Categories. Just like with blog posts, you can check the boxes for existing categories (like “Workshops”) or click “+ Add New Event Category” to create a new one. This helps visitors easily find events they are interested in.
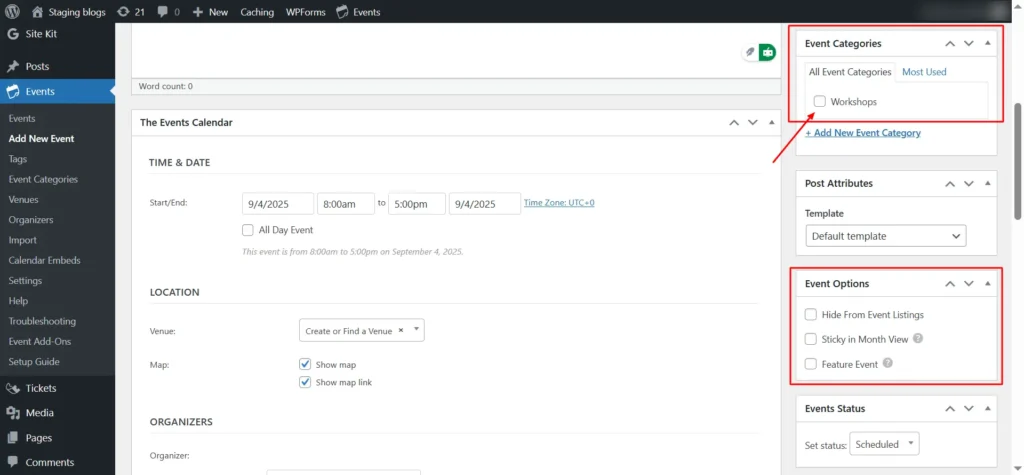
Screenshot: Event Categories & Event Options
The Event Options section gives you further control:
- Hide From Event Listings: Check this box if you want to create the event but not have it appear on your main event calendar.
- Sticky in Month View: This option keeps the event at the top of a monthly calendar view.
- Feature Event: Use this to highlight the event as a featured item.
Additionally, in the Events Status box on the right sidebar, you can set the status to “Scheduled,” “Canceled,” or “Postponed.”
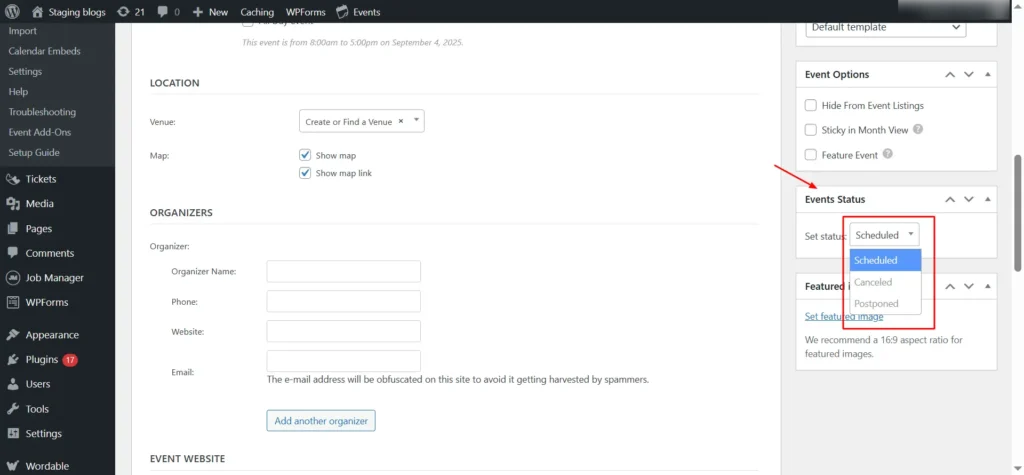
Screenshot: Event Status
Featured Image: For visual appeal, upload a unique featured image.

Screenshot: Featured Image
Once done, click “Publish” to make the event live. After publishing, click on the View tab to view your published event.
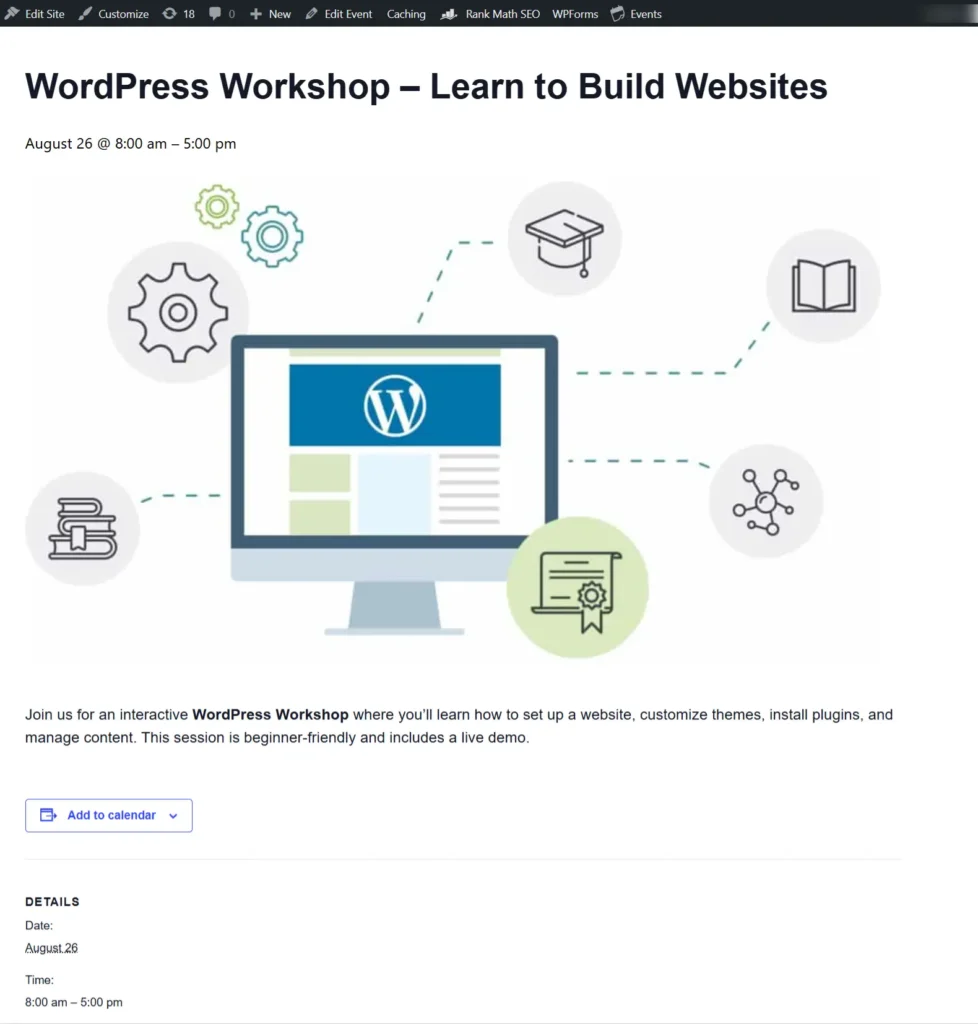
Screenshot: Published Event
You can also see your Calendar View from the dashboard.
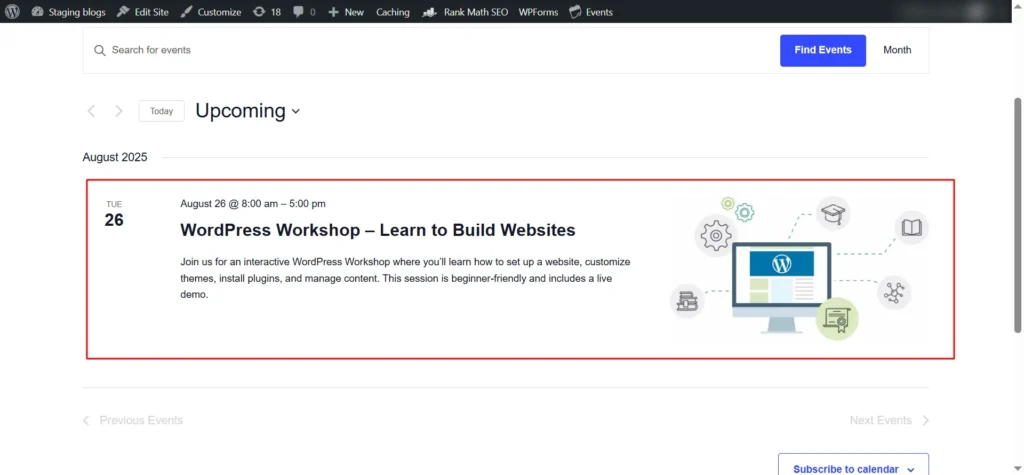
Screenshot: Calendar View
Step 4: Add a New Event Tag
Under the Event menu, click Tags. Here, you’ll see a list of all existing tags (if any). To create a new tag, enter the details:
- Name – The tag name (e.g., WordPress )
- Slug – The URL-friendly version (e.g., wordpress)
- Description – Optional, but useful if you want to explain what kind of events this tag represents.
Then click Add Tag.
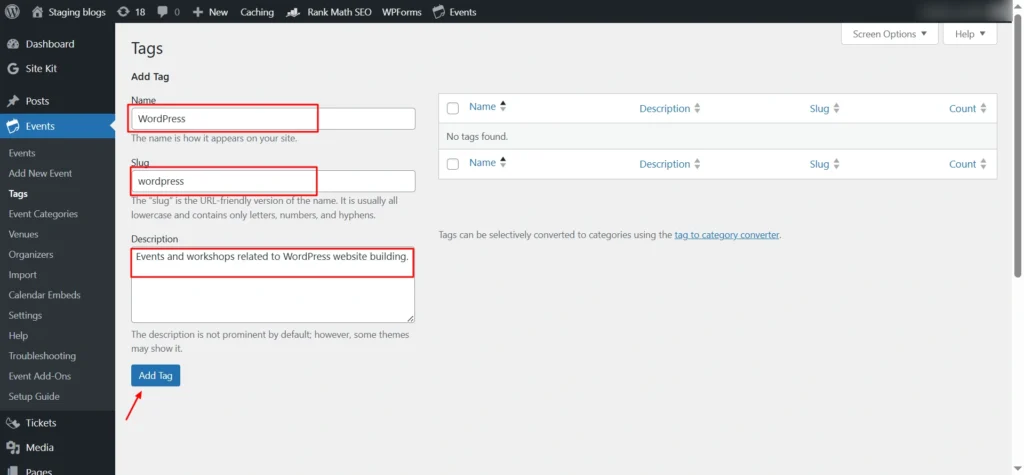
Screenshot: Add Tags
Your tag is now created and ready to be used.
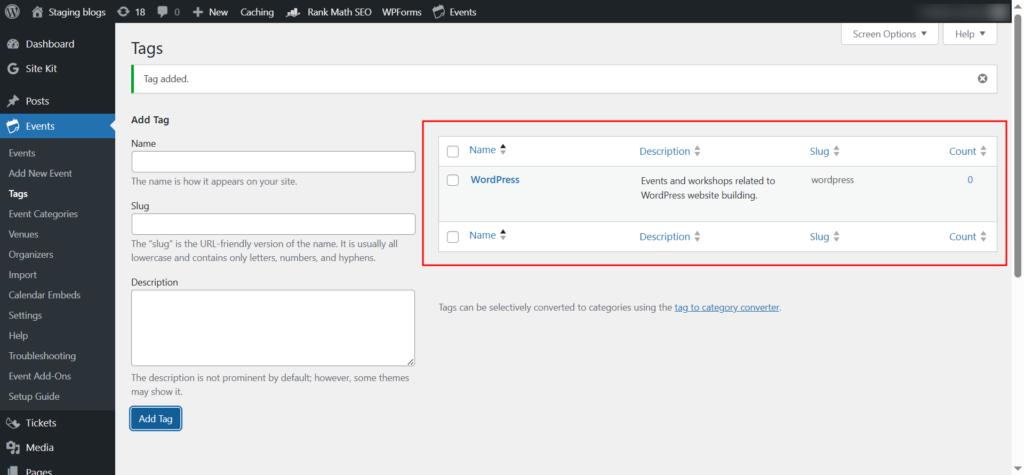
Screenshot: Tags list
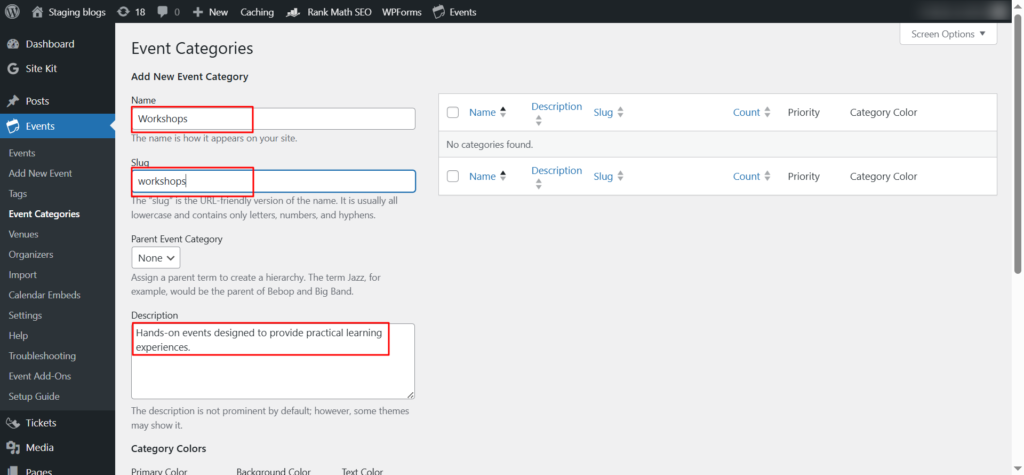
Step 5: Add a New Event Category
Under the Events menu, click Event Categories. You’ll see a page similar to how you manage blog categories. On the Event Categories page, fill in the details:
- Name – The category name (e.g., Workshops).
- Slug – The URL-friendly version (e.g., workshops).
- Parent Category – Optional, useful if you want subcategories (e.g., “Workshops” → “SEO Workshops”).
- Description – Optional, but can appear on some themes and improve SEO.
- Category Colors
Click Add Event Category.
Screenshot: Add Event Categories
Your new category will now appear in the category list.
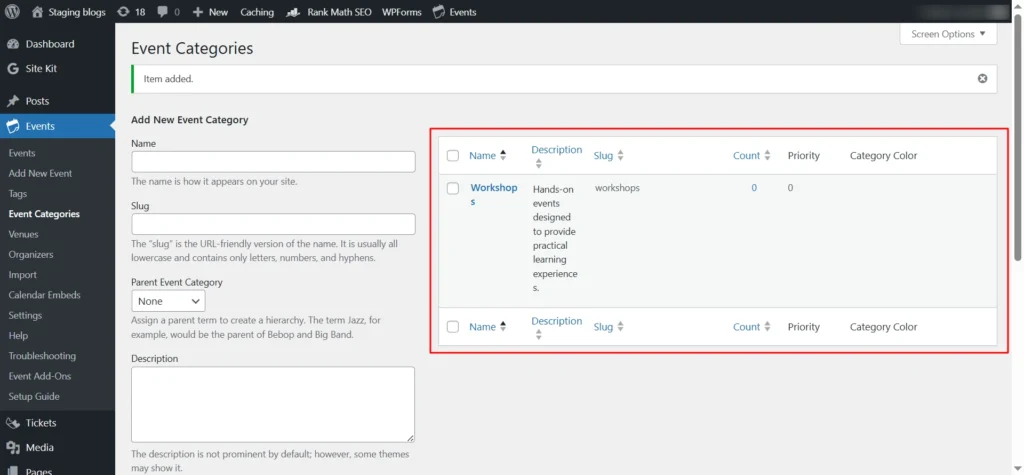
Screenshot: Categories list
Step 6: Create a New Venue
Scroll down to the Venues section below the event categories.
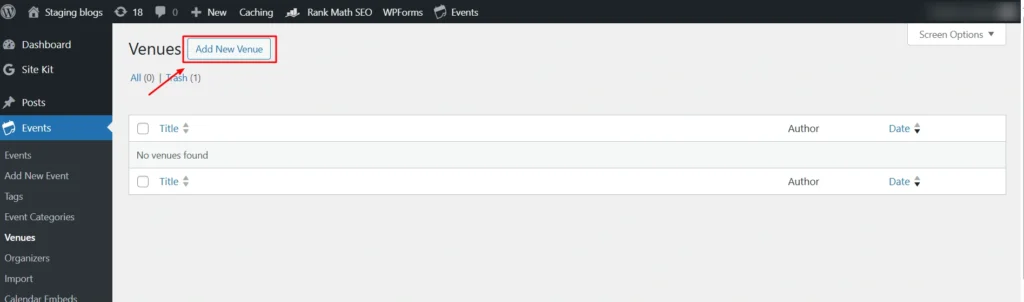
Screenshot: Add New Venue
Click on Add New Venue.
- Enter the venue details
- Venue Name – The name of the location (e.g., ABC Training Hall).
- Address – Street, city, state, and country.
- Postal Code – Helps with accurate mapping.
- Phone Number – Optional, but helpful for attendees.
- Website – If the venue has its own site.
- Show Google Map / Google Maps Link – Check this box if you want a map displayed on the event page.
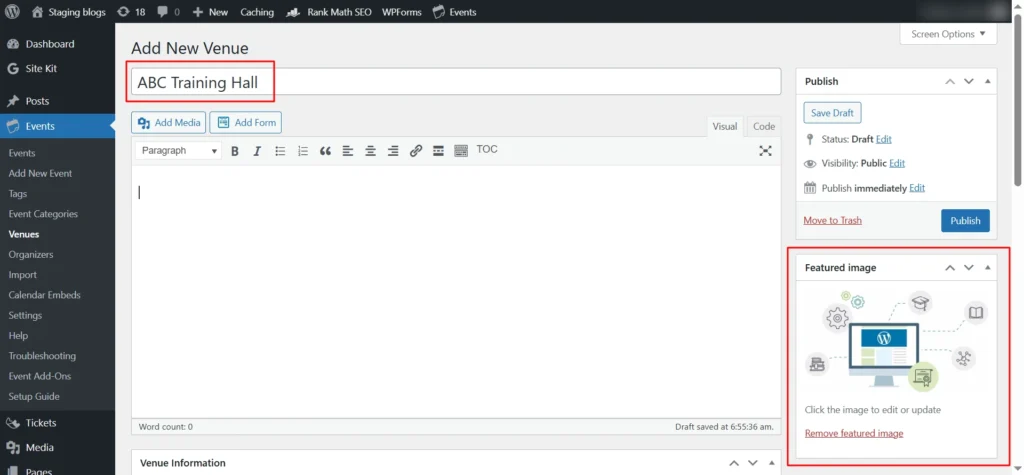
Screenshot: Add Venue Name and Featured Image
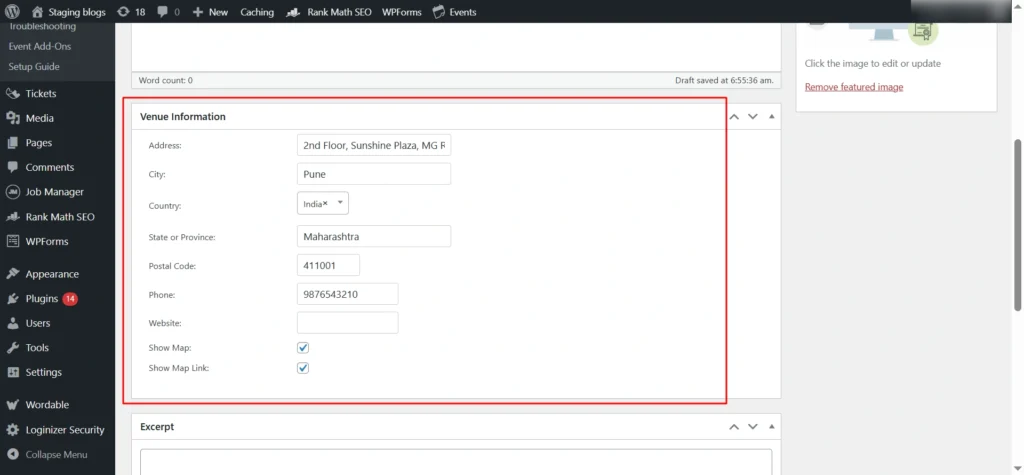
Screenshot: Add Venue Information
Step 7: Add a New Organizer
On the left-hand admin menu, click Events. From the dropdown, select Organizers. On the Organizers page, find the Add New Organizer button at the top.
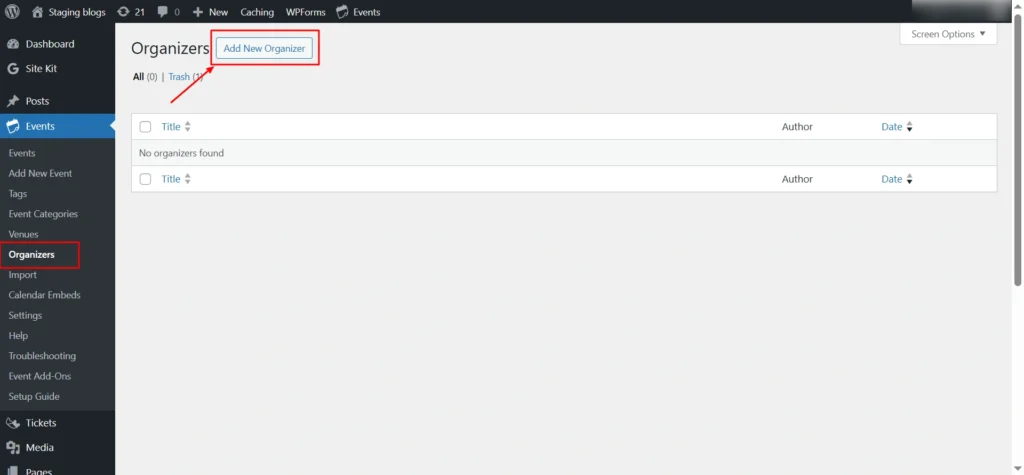
Screenshot: Add New Organizer
Fill in the details:
- Organizer Name – The official name.
- Phone Number – A contact number for inquiries.
- Website – A link to the organizer’s website or profile.
- Email Address – The primary contact email.
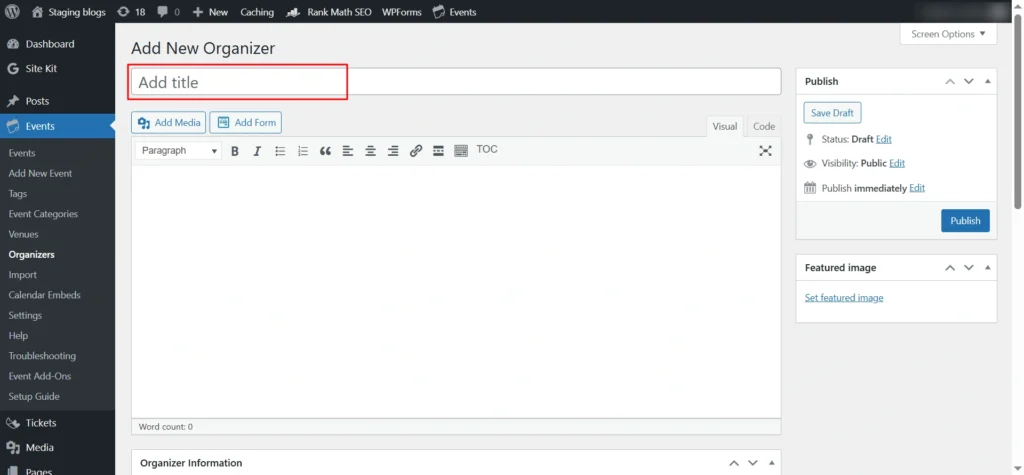
Screenshot: Organizer Name

Screenshot: Organizer Name
Once filled in, click Publish.
Step 8: Event Import (optional)
If you manage multiple events, manually entering them into your WordPress site can be time-consuming.
You can bulk import events into WordPress from sources—like a CSV file(free), Google Calendar, Eventbrite, iCalendar, meetup, or other URL (paid)—so you don’t have to add each event one by one.
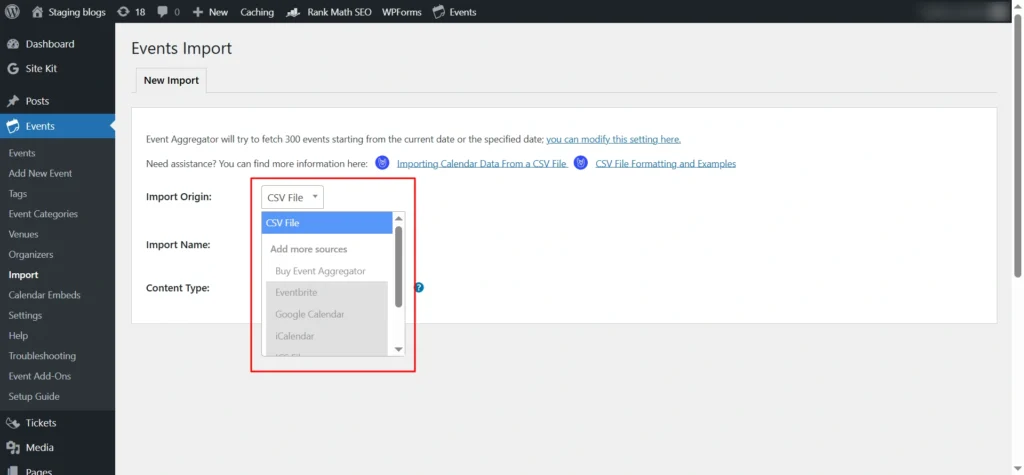
Screenshot: Event Import
- Import Name:- You can give your import a name, so you remember where it came from.
- Content Type: – Defines what kind of content you’re importing (like events, venues, or organizers).
Step 9: Calendar Embed
Calendar Embed, as the name suggests, allows you to generate an embed of your events calendar that can be placed on:
- Any page or post
- Landing pages for specific event types (like “Workshops” or “Webinars”)
- External websites using an embed code
To generate a Calendar Embed, follow these steps:
- In the left menu, click Events > Calendar Embeds.
- Click Add New Calendar Embed.
- In the title box, give your embed a name.
- Tags – Add tags to filter events by keywords.
- Event Categories – Select categories like Workshops or Webinars.
- Example: If you only want to show Workshops, select that category.
- Click Publish on the right-hand panel.
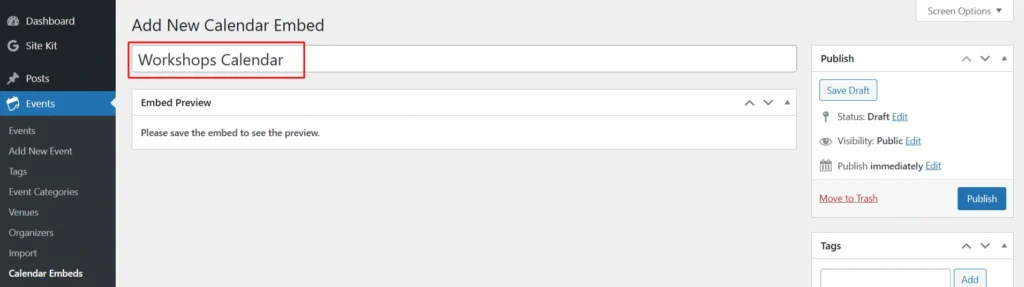
Screenshot: Add New Calendar Embed
Once published, you’ll see a live preview of the calendar inside the embed editor. Right now, it may show “There are no upcoming events,” if no events are available in that category or month.
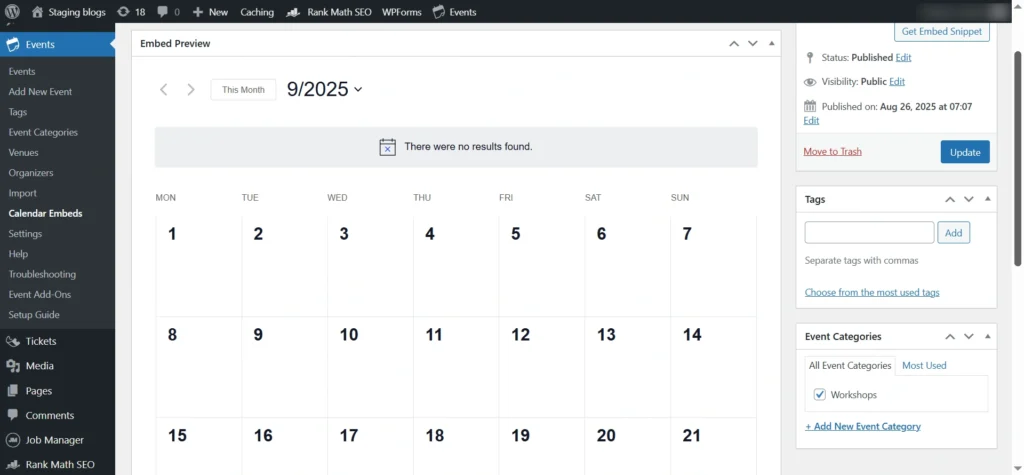
Screenshot: Embed Calendar Preview
Get the Embed Snippet
After publishing, a Get Embed Snippet button will appear.
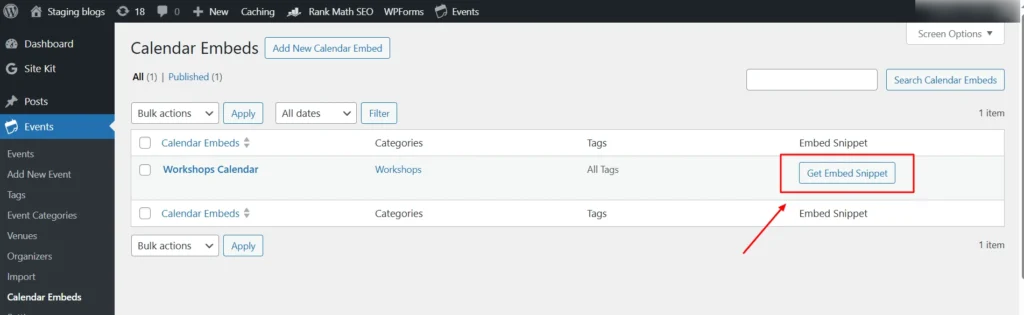
Screenshot: Get Embed Snippet
Copy the snippet code.
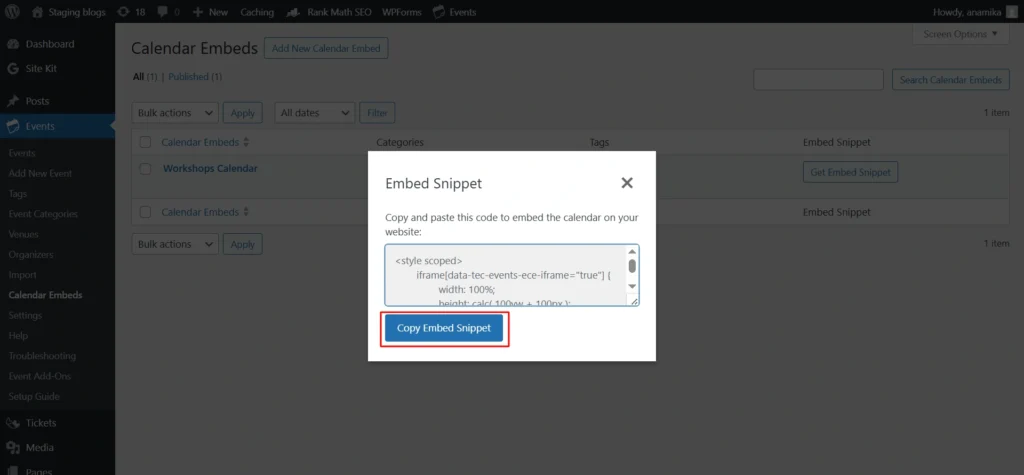
Screenshot: Copy Embed Snippet
Paste it into any WordPress page, post, or even an external site to display the calendar.
Step 10: Events Settings Tabs
Under Events > Settings menu, you’ll notice multiple tabs at the top. Let’s go through each one.
Settings→ General→ Viewing
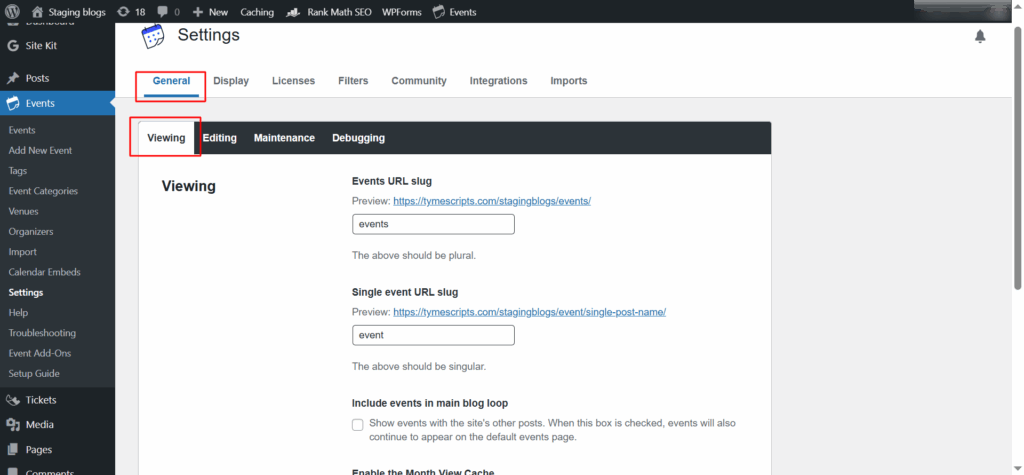
Screenshot: Event General Settings
The Viewing tab under Events Settings controls how your event URLs look and how events are displayed across your website.
- Enter Events URL slug – This sets the main events calendar page URL.
- Enter Single event URL slug – This controls the URL for individual events.
- Decide whether to mix events with blogs based on your content strategy.
- Keep caching enabled for faster performance.
Settings→ General→ Editing
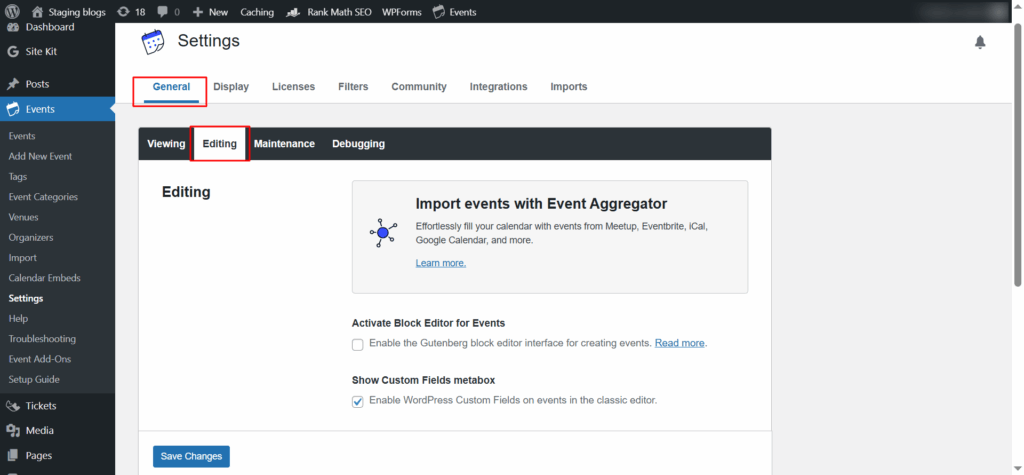
Screenshot: General Editing Setting
The Editing tab under Events Settings lets you decide how you create and edit events in WordPress. These options allow you to choose an editor (Classic Editor vs. Block Editor) and whether you want to add extra details with custom fields.
Settings→ General→ Maintenance
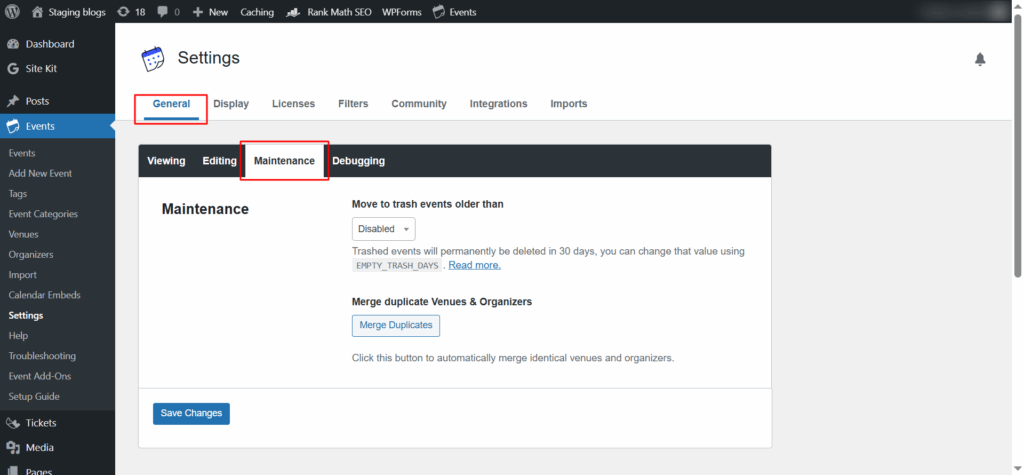
Screenshot: General Maintenance Setting
In the Maintenance section, you can automatically clean up old events by setting a time limit.
Options are
- 1, 3, 6, and 9 months
- 1, 2, and 3 years
You can also merge duplicate venues and organizers to keep your data neat and accurate.
Settings→ General→ Debugging
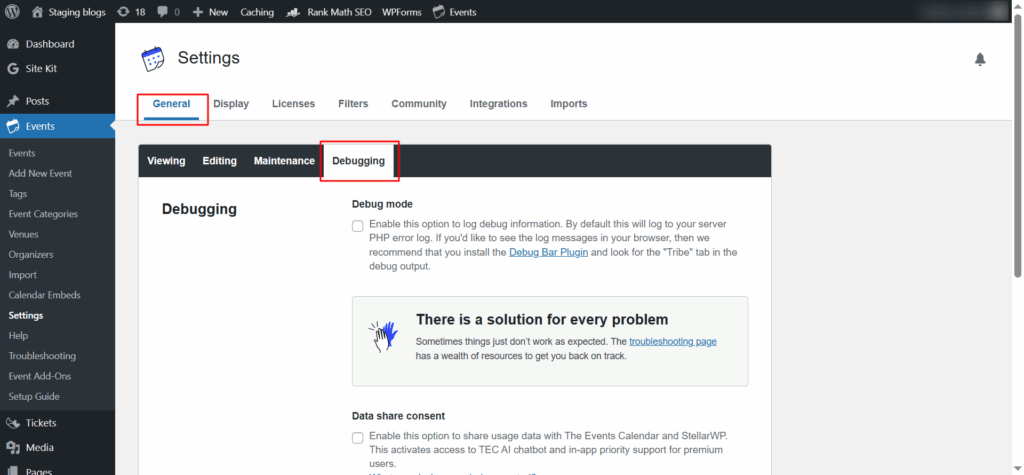
Screenshot: General Debugging Setting
This Debugging tab provides tools to help troubleshoot issues and manage data. This section helps you fix problems by turning on debug mode to record errors. You can also share your usage data to get better support and features. You can also enable notifications to stay updated on fixes and new features.
Settings→ Display→ Calendar
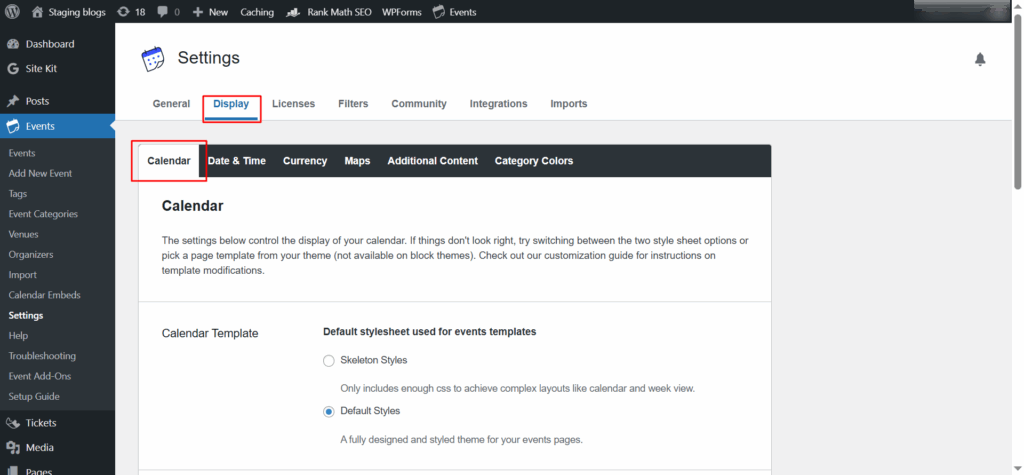
Screenshot: Display Calendar Setting
This tab controls how the calendar looks and what options users have to see events.
Calendar Template
This setting allows you to choose the visual style for your calendar.
Skeleton Styles
This option provides a very basic, minimal style with just the essential code (CSS) needed to structure the calendar and weekly views.
Default Styles
Fully designed and styled theme. It provides a complete, ready-to-use look for the events pages.
Calendar Display
Event Views
In this template setting, there are a series of checkboxes for different calendar views: List, Month, Day, Summary, Photo, Week, Map
Default view
This is a dropdown menu that lets you choose which of the enabled views will be the first one visitors see when they land on the calendar page.
Settings→ Display→ Date & Time
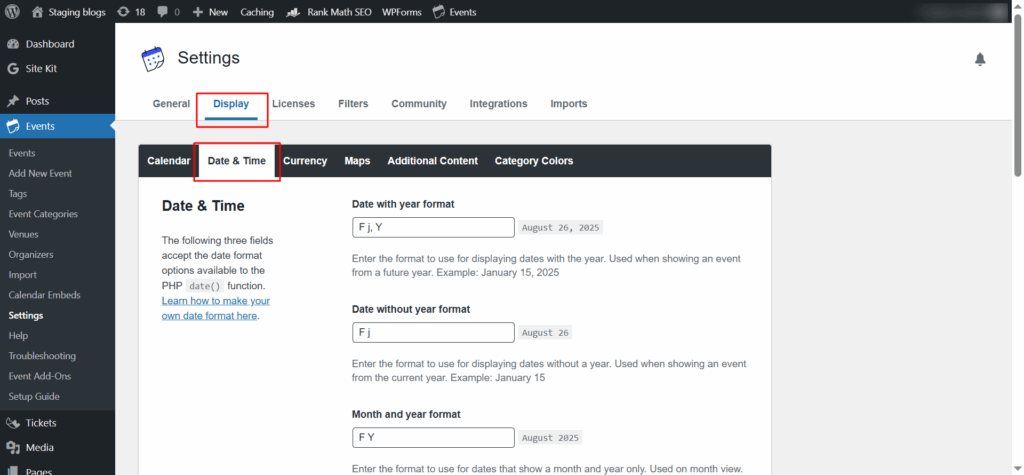
Screenshot: Display Date & Time Setting
This section is used to customize how dates and times are displayed to users.
Settings→ Display→ Currency
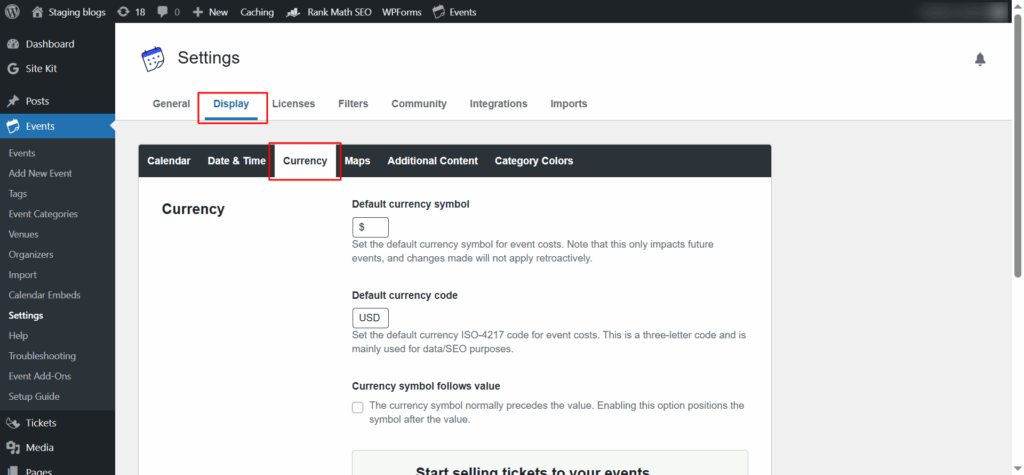
Screenshot: Display Currency Setting
This section lets you define how currency for events is displayed. You can set the default currency symbol, default currency code, and currency symbol.
Settings→ Display→ Maps
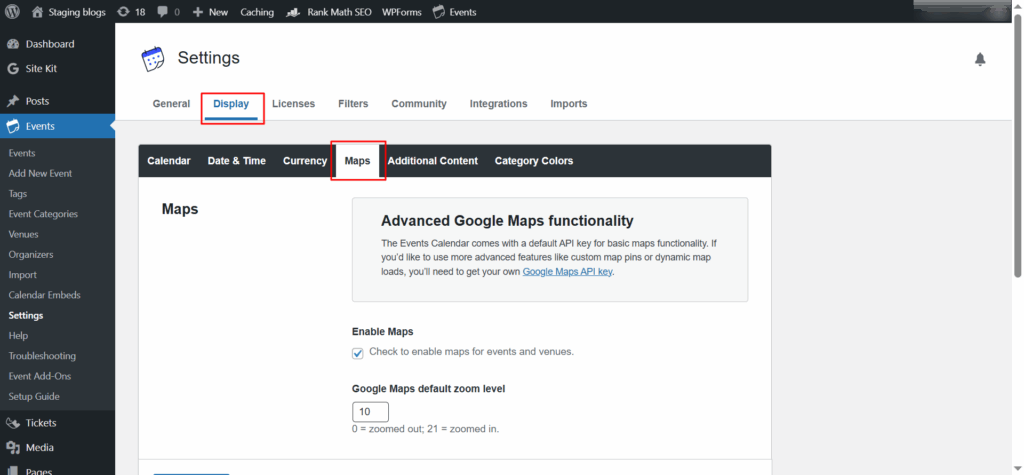
Screenshot: Display Map Setting
This section controls how maps are integrated and displayed with event information.
Settings→ Display→ Additional Content
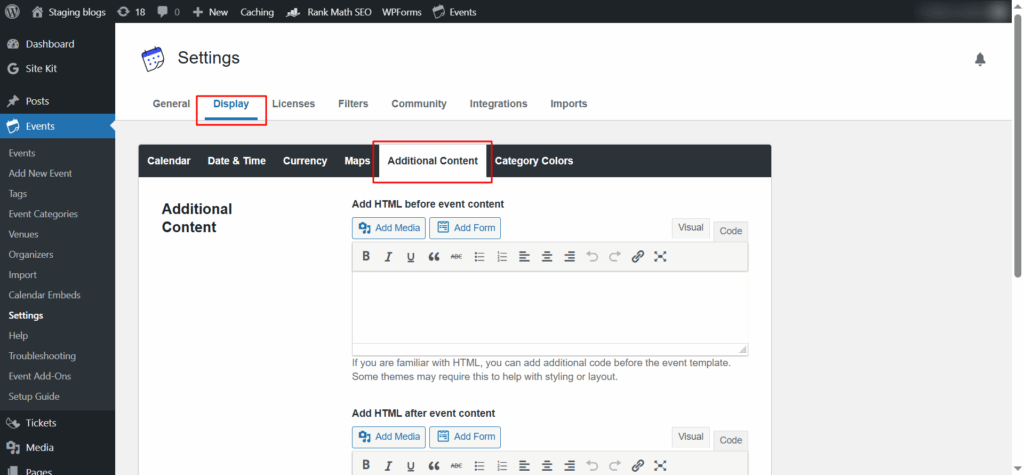
Screenshot: Display Additional Content Setting
The additional content section allows a user to add custom content, typically HTML, to the event pages.
Settings→ Display→ Category Colors
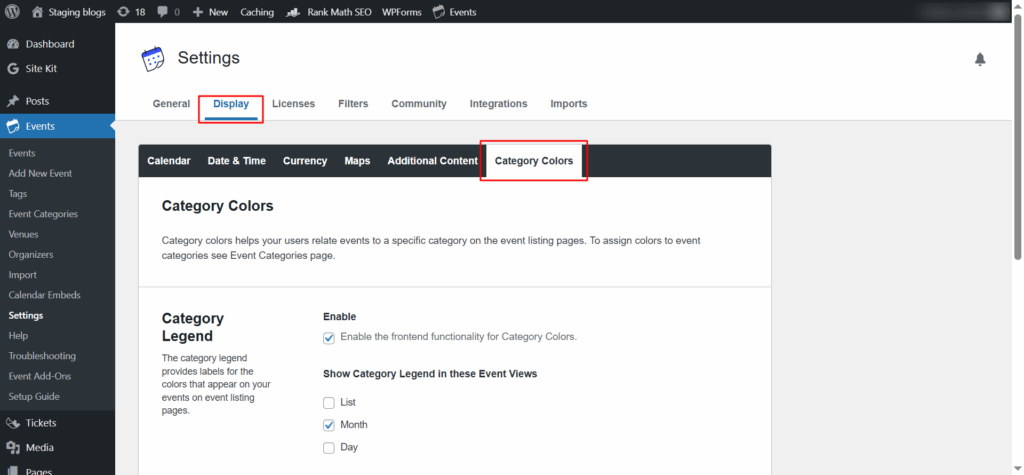
Screenshot: Display Category Colors Setting
Under this section, you can enable colored category labels for your events and choose which calendar views (like List, Month, or Day) will display them.
Settings→ Filters
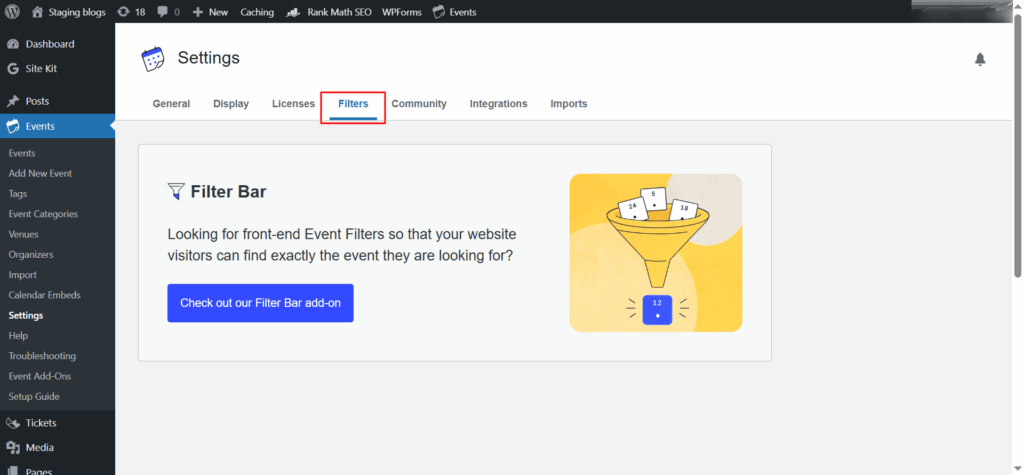
Screenshot: Filters
If you want advanced filters for the events calendar, you can install the premium add-on called “Filter Bar.” This add-on allows website visitors to easily search for specific events by filtering them based on criteria like date, category, or location.
Settings → Community
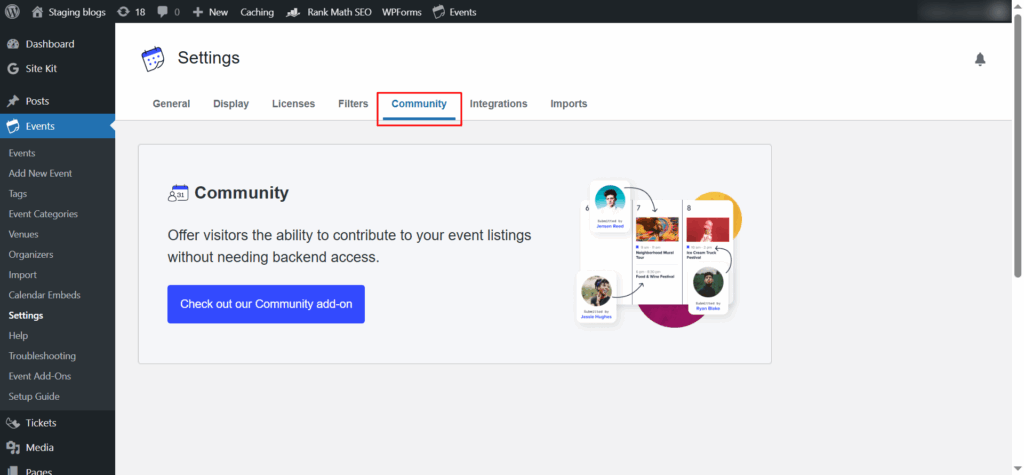
Screenshot: Community
This is a premium Community add-on that lets your website visitors submit their own events. This means people can contribute event listings without needing a login to your website’s admin area.
Settings→ Integrations

Screenshot: Integrations
In the Integrations tab, you get a basic Google Maps API key. However, to get advanced features like custom map pins or better map performance, you’ll need to create and use your own Google Maps API key.
Settings→ Imports
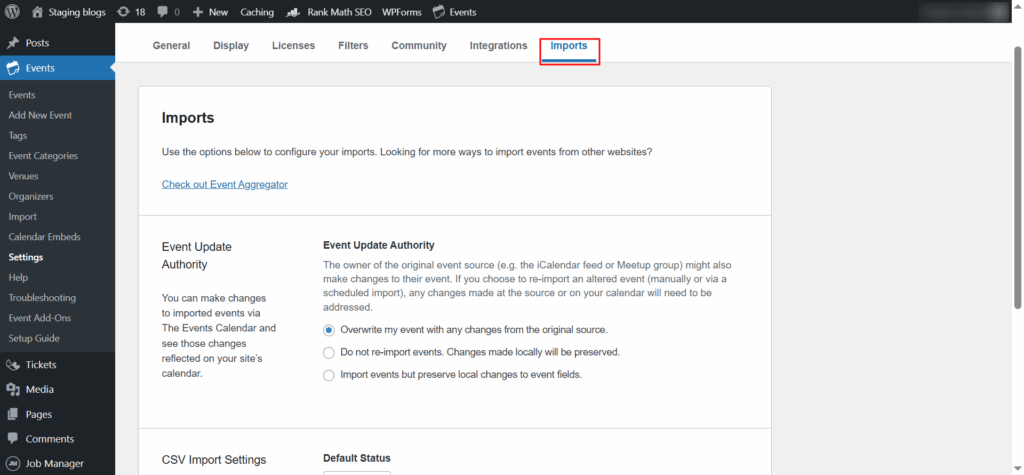
Screenshot: Imports
The “Imports” tab helps you manage settings for importing events from other sources.
Event Update Authority lets you decide whether your changes to an imported event are kept or if the source’s information overwrites them.
CSV Import Settings lets you set a default status and category for events you import from a spreadsheet file.
Conclusion
By following these steps, you’ve now got a fully functional events calendar on your WordPress site. This events calendar will not only help you organize & promote activities but will also significantly boost user engagement. From setting up your first event to customizing your calendar’s appearance, you now have all the knowledge you need to start creating, sharing, and managing your events with ease.
Published on Sep 10, 2025 | Updated on Feb 19, 2026
Author

Anamika Kumari
Author
|
Reviewer

Abhijeet Bendre
Author
|